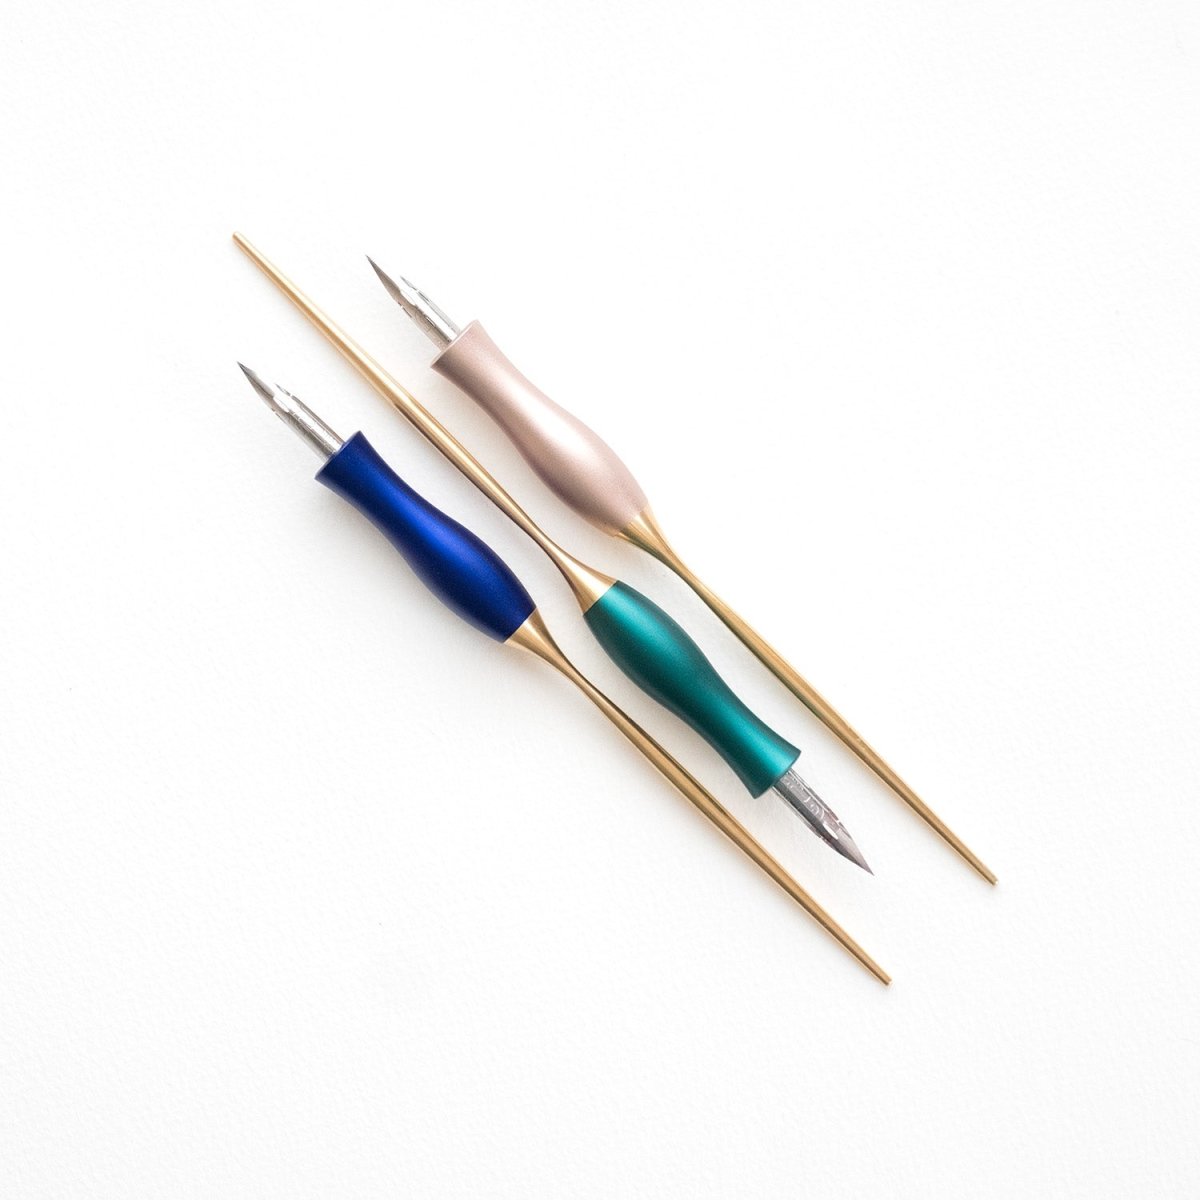
The Bloom - How To
A brief guide to get you started with your new pen.

BLOOM FAQs
Click here to download a handy visual guide.
To loosen the oblique, twist the brass nut away from you and insert your preferred nib, making sure that it is touching the brass beneath and to the right of it (to the left for lefties).
Tighten the nut by twisting it towards you until it is loosely holding the nib. Take the nib out and then turn the nut a little more and re-insert the nib. Repeat as neccessary until you have a lovely snug fit. It’s exactly the same process to use a smaller nib like a Brause 66 EF. Please also check out our video instructions on the link below.
To remove the nib, use your thumb to push on the back end of the nib until it pops out (no need to unscrew the nut). If the nib is particularly snug, use a soft cloth or piece of card to push the nib out of the brass flange.
You can change the angle of the nib so that it suits your writing style perfectly. Once you set the correct angle, you’ll find the nib will glide across the page without snagging. If you’re a leftie, you can also flip the flange around so that it’s on the other side of the pen.
Insert the allen key into the small screw on the top of the pen and loosen by turning it anti-clockwise.
Pinch the nib and adjust to your desired angle, then tighten the screw with the allen key to set it in place.
Click here to download a handy visual guide.
If you have a straight pen, look for the opening on the collar of the nib ferrule, and line your nib up with this. Then slide your nib down in centrally between the edge of the ferrule and two of the prongs inside.
N.B. the nib should not sit in the centre of the four prongs.
