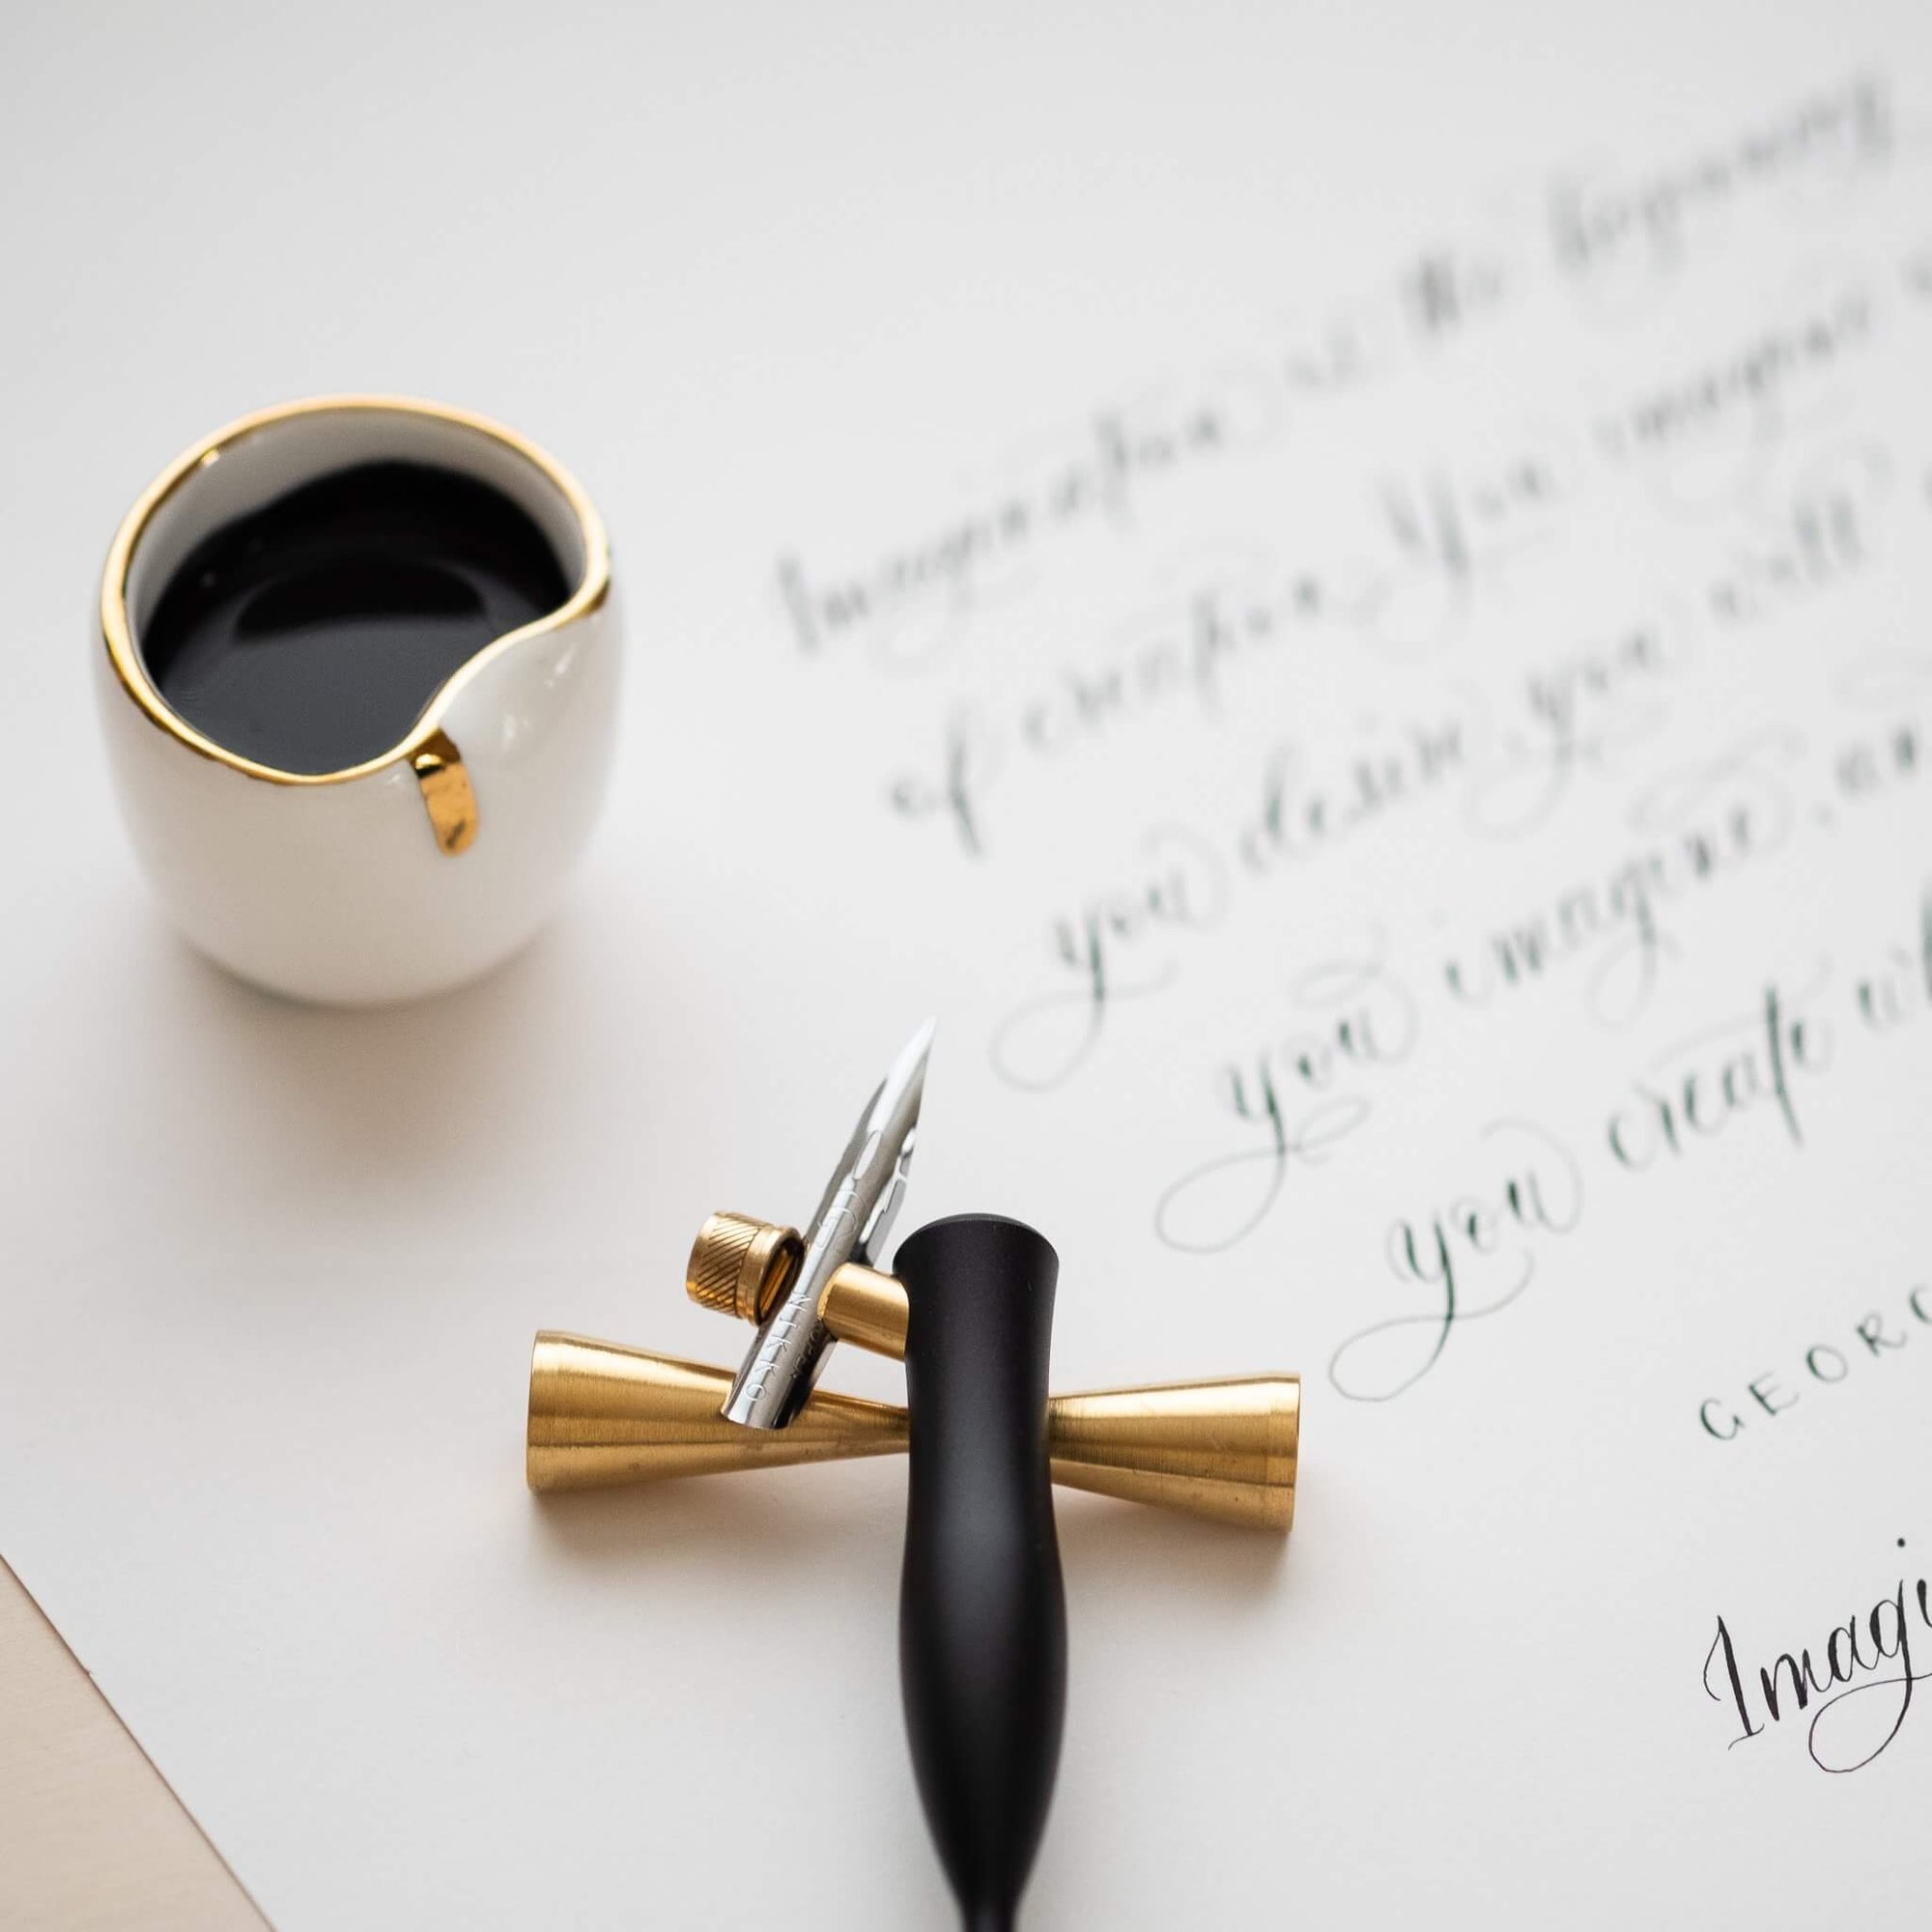
The Flourish Calligraphy Pen
A brief guide to get you started with your new pen.

ABOUT THE FLOURISH
The body of the Flourish is crafted from anodised aluminium. The straight Flourish features a stainless steel ferrule, while the oblique Flourish is fitted with a brass flange.
Straight
- Length – 160mm
- Weight – 15g
Oblique
- Length – 160mm
- Weight – 20g
Absolutely! Left-handed users can easily flip the flange around on the oblique Flourish to position it on the opposite side of the pen.
Here’s how:
- Insert the provided allen key into the small screw at the top of the pen and turn it anti-clockwise to loosen.
- Pinch the nib and adjust it to your desired angle.
- Once adjusted, tighten the screw with the allen key to set it in place.
For a visual guide, check out our video here.
ALL ABOUT INKS
The Flourish is compatible with all inks, but we recommend our Calligraphy Inks. They are durable, dense when dried, and completely water-resistant, making them a fantastic choice for your writing and creative projects.
ALL ABOUT NIBS
Calligraphy nibs are sold separately, and we offer a great selection of them here. If you have questions about the compatibility of a specific calligraphy nib that we don't stock, please get in touch – we'd be happy to assist.
Absolutely! Both the straight and oblique Flourish pens are designed to hold most calligraphy nibs in a variety of sizes, accommodating nearly all but the most specialised nibs.
Look for the opening on the collar of the nib ferrule and line your nib up with this. Slide the nib down between the edge of the ferrule and the two prongs inside.
Please note: The nib should not sit in the centre of the four prongs. For a visual guide, check here.
To insert a nib into the oblique Flourish:
- Twist the brass nut away from you to loosen.
- Insert your preferred nib, ensuring it touches the brass beneath (on the right side for right-handed users, or the left side for lefties).
- Tighten the nut by twisting it towards you until the nib is loosely held in place.
- Remove the nib, turn the nut a little more, then re-insert the nib. Repeat as necessary until the nib fits snugly.
To remove the nib, use your thumb to push on the back end of the nib until it pops out – there’s no need to unscrew the nut. If the nib is especially snug, use a soft cloth or a piece of card to gently push the nib out of the brass flange.
Adjust the nib angle to suit your writing style perfectly. Once you’ve set the angle, you’ll find the nib will glide smoothly across the page without snagging.
To adjust:
- Insert the allen key into the small screw at the top of the pen and turn it anti-clockwise to loosen.
- Pinch the nib and adjust it to your desired angle.
- Tighten the screw with the allen key to set the angle in place.
You can find a video on how to do this here.
We have a handy calligraphy nib guide to help you choose the best nib. If you still have questions, don’t hesitate to reach out to our lovely customer care team at hello@tomsstudio.co.uk.
CARING FOR YOUR FLOURISH
To keep your Flourish in great condition, simply clean the body of the pen with warm, soapy water. Be sure to dry all parts thoroughly after cleaning to prevent any moisture from lingering.
To keep your nibs in perfect working order and to prevent rusting, rinse them after each use. Use water or our Nib Cleaning Solution for any stubborn ink. Gently dry the nibs with a soft cloth and allow them to air dry before storing them away.
We recommend storing your Flourish in the pen box it came in, which is designed to keep your pen safe and secure.
TROUBLESHOOTING
Not to worry! First, remove the nib and nib-holding device from your pen and soak them in nib cleaning solution or soapy water to help remove the rust.
If the rust remains, you can find replacement nib ferrules and new calligraphy nibs in our range.
