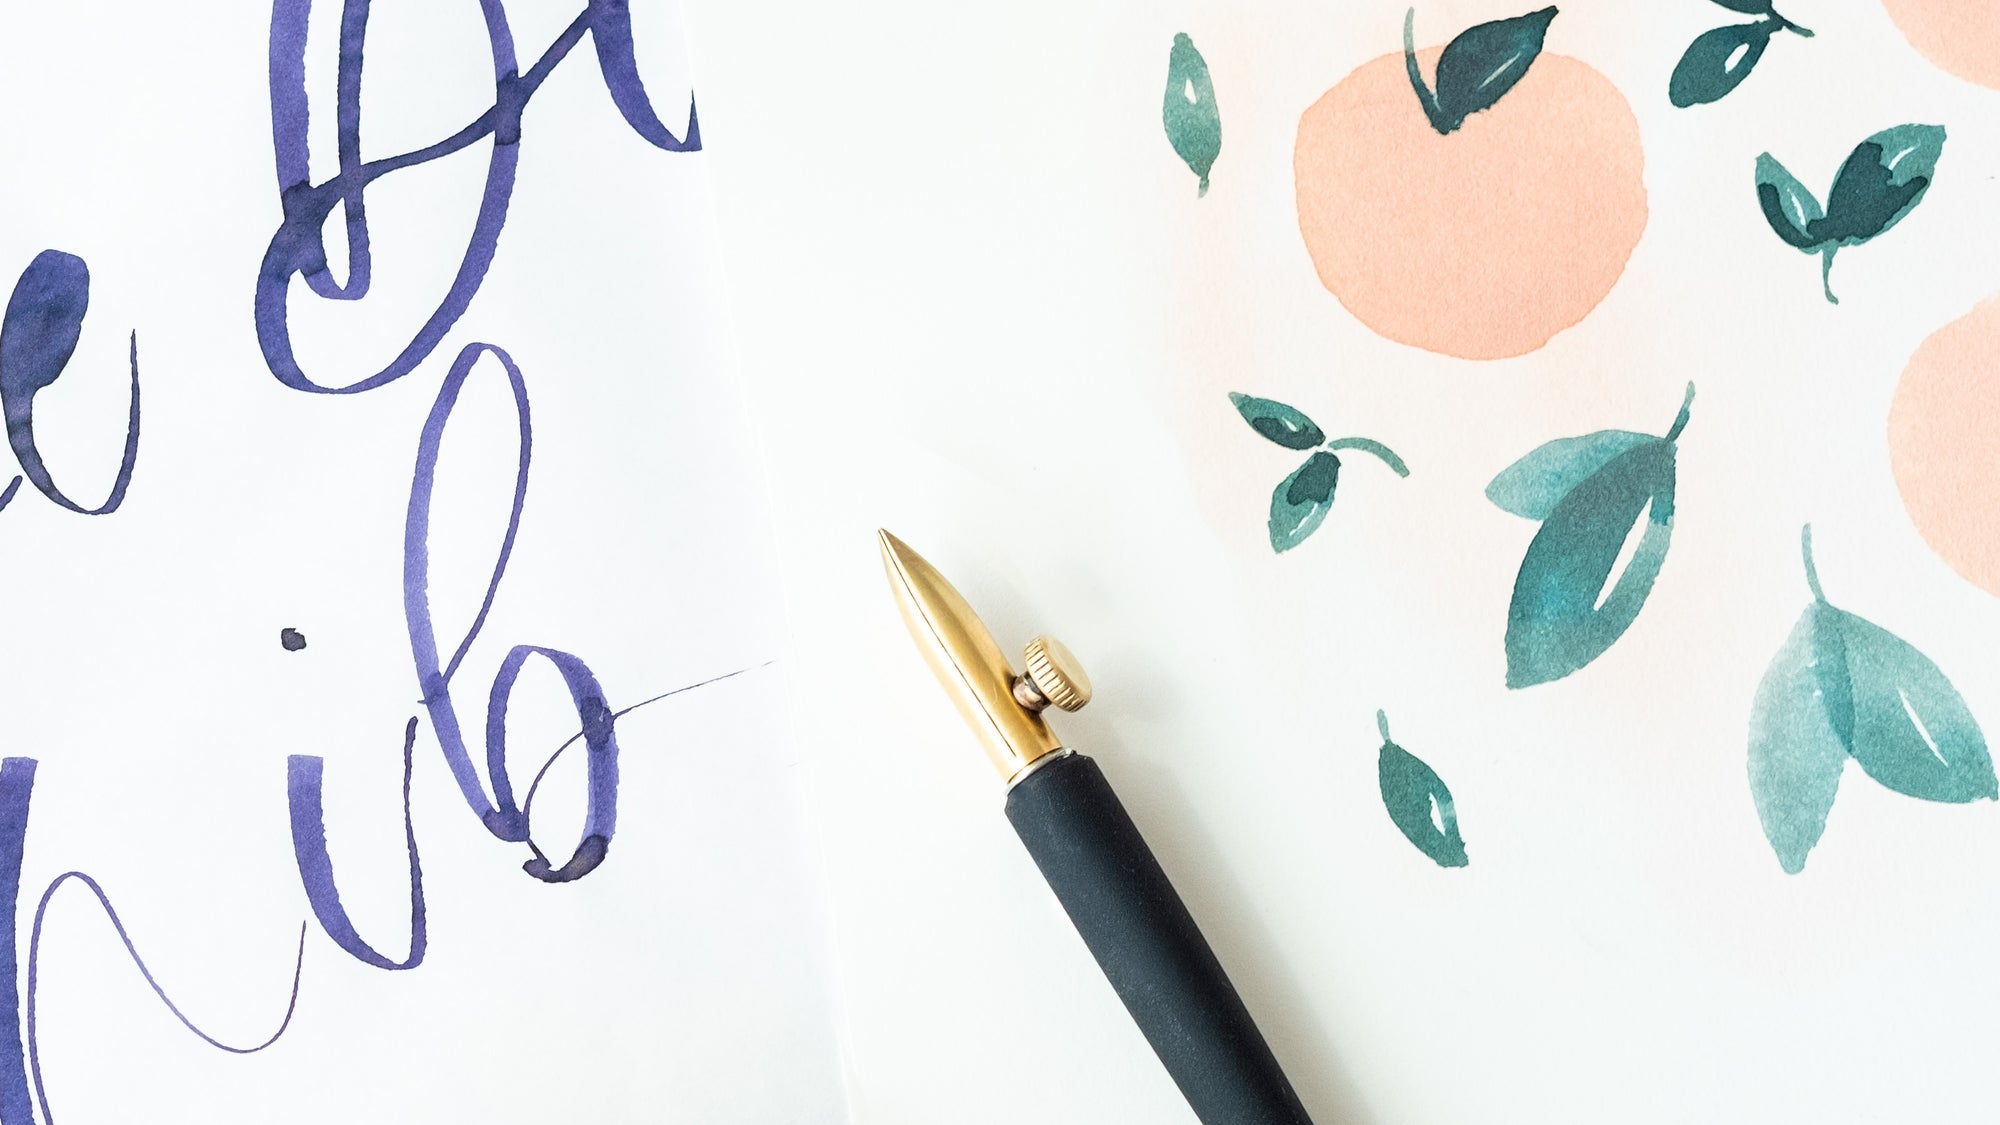
One-Dip-Nib
A brief guide to get you started with your new nib.

Getting started
Firstly, thank you so much for your support and for purchasing a One-Dip-Nib. I hope it serves you well for many years to come.
To get you started with your shiny new tool, first insert your nib into your pen. A slight twist can help when inserting or removing it. Then, dip the nib in your ink of choice, aiming for the ink level to be just below the thumb screw. I like to count to 15 for maximum saturation of the internal reservoir. Tap lightly on the bottle to remove any excess ink, and you're ready to start!
To familiarise yourself with your nib, experiment with different angles, adjust the thumb screw, and enjoy a good ol' doodle. The only constraint is that the slit in the nib needs to be in contact with the paper for the ink to flow properly, similar to a fountain pen nib.
Cleaning the nib
Important bit! Once you've created your masterpiece, it's important to clean your nib properly to maintain its performance.
If no ink has dried onto the nib, a light rinse in warm, soapy water will suffice. Make sure to remove the nib from the pen and remove the screw. Most importantly, dry the nib, screw, and pen, and store the nib separately from the pen. This is because the pen ferrule (the part that holds the nib) is steel, and the nib is brass, which can cause something called galvanic action (I won't bore you with the intricacies), which speeds up the rusting process.
Spare ferrules can be found here if you need a replacement in the future.
If ink has dried onto the nib, you can remove it and soak it in my marvellous nib cleaning solution until any stubborn ink has been removed. Make sure to rinse and dry, as outlined above.
Customising your nib
Every nib has been sanded by hand to a finish that we believe suits most users. However, you'll find a small square of super fine sandpaper included with your nib. This can be used to either further smooth the nib so that it glides effortlessly across the page or to tune the precision of the nib and sharpen the tip.
Simply wet the sandpaper with a drop of water and twist the nib while holding both with your thumb and forefinger for best results. Enjoy customising your nib!
You can also clean the split between the 'tines' of the nib using the included sandpaper. Simply remove the white reservoir wet the sandpaper with a small amount of water and run along one half. Remove and repeat on the other half. Rinse and dry thoroughly.
ABOUT THE ONE-DIP-NIB
Stainless steel nibs are more precise, delivering a finer line and are also durable. They’re designed to hold their tip shape for a very long time, making them perfect for consistent use.
Brass nibs are softer and glide more smoothly across the page. They also offer a greater variation between thin and thick line widths when adjusted using the thumb screw.
Straight calligraphy pens only – simply slot into the top of the pen. It can't be used with oblique pens at the moment.
The ink capacity in the One-Dip-Nib is larger, the line width is adjustable, and it doesn't need to be twisted to get more ink flow.
ALL ABOUT INKS
Dip the nib until just before the ink level reaches the thumb screw (not beyond it). We like to hold it in the ink for around 10-15 seconds to allow the ink to saturate the reservoir nicely.
This nib is compatible with all inks – fountain pen, shimmer, calligraphy… you name it! If your ink is too thick, add a tiny drop of water to help it flow smoothly.
CARING FOR YOUR ONE-DIP-NIB
To keep the nib performing well, rinse it with warm soapy water or Nib Cleaning Solution after each use. If you forget and use acrylic-based or Indian ink, which can be tough to remove, soak the nib in our Nib Cleaning Solution for 20-30 minutes.
Absolutely! Should you need a replacement reservoir for your One-Dip-Nib, or just fancy having some spares to hand, you can find them here.
To change your One-Dip-Nib reservoir, start by removing the thumb screw completely and tipping the reservoir out - just be careful of inky fingers! With the nib pointing down, drop the new reservoir into the nib’s cavity, then screw the thumb screw back into place.
If you’re finding it difficult to reinsert the thumb screw, make sure the reservoir isn’t blocking the opening by keeping the nib pointed downward as you replace it.
TROUBLE SHOOTING
Our team hand-finishes each nib with 2400 grit sandpaper to reduce scratchiness while preserving a fine 'bite' for those who prefer it. If you'd like a smoother feel, you can use the included sandpaper to adjust it to your liking.


